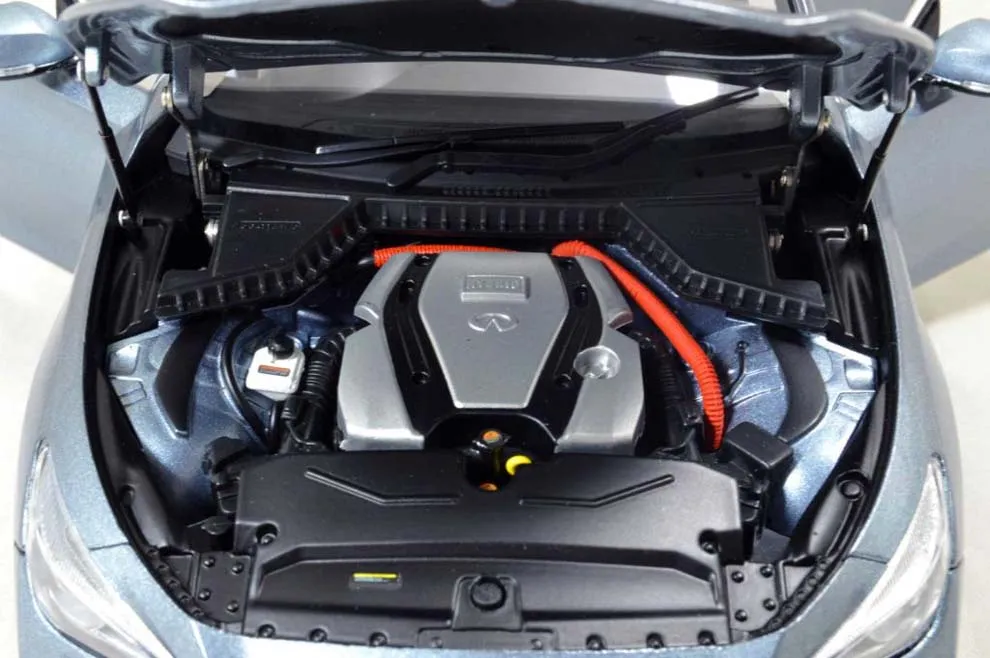
What are Diecast Model Cars?
Diecast model cars are miniature replicas of real-life vehicles, typically made from die-cast metal. This manufacturing process involves injecting molten metal (usually zinc alloy) into molds to create detailed and durable models. These models are prized by collectors and hobbyists for their accuracy, detail, and the enjoyment they provide. They come in various scales, with the most popular being 1:18, 1:24, and 1:43, each representing a different ratio of the model’s size to the actual car. Building diecast model cars is a rewarding hobby that combines the satisfaction of craftsmanship with the appreciation of automotive design.
Materials Needed to Build a Diecast Model Car
The materials required for building a diecast model car are essential for both the initial build and any customization or repair work. Start with the diecast model car itself, which can be found in hobby stores or online. In addition to the car, you’ll need various paints. Acrylic paints are a popular choice due to their ease of use and quick drying times. Enamel paints offer durability but require more skill to apply. Thinners and solvents are needed to properly dilute and clean up paints. You’ll also need primers to prepare the surface for paint. Finally, for detail work, consider using super glue and epoxy for assembly and repairs. With a well-stocked materials kit, you’ll be ready to build and customize your diecast model cars with precision and ease.
Essential Tools for Diecast Model Car Building

Having the right tools is crucial for building diecast model cars, as it enhances the precision and enjoyment of the process. A basic toolkit should include screwdrivers (both flathead and Phillips head), pliers (needle-nose and cutting), and hobby knives for disassembly and part removal. For cleaning and preparing parts, a soft brush and cotton swabs are ideal. Various grades of sandpaper are necessary for smoothing surfaces, and a cutting mat will protect your workspace. An airbrush or small detail brushes are recommended for painting. A good-quality magnifying glass can help with intricate detailing. These essential tools enable you to build and customize diecast model cars with accuracy and finesse, resulting in professional-looking results.
Choosing Your First Diecast Model Car
Selecting your first diecast model car can be an exciting step into the hobby. Start by choosing a model of a car you are passionate about, as this will make the building process more enjoyable. Consider the complexity of the model. Beginners should start with simpler models with fewer parts and straightforward designs. Research the availability of replacement parts, especially if you are new to building models. The scale of the model is another factor; popular scales like 1:24 and 1:18 offer a good balance of detail and size. Also, look for models with good reviews and clear instructions, which will assist you. With careful consideration, you can choose a model that sets you up for a successful and rewarding building experience.
Step-by-Step Guide Disassembly and Cleaning
Disassembly and cleaning are the initial crucial steps in building diecast model cars, laying the groundwork for a successful build. Begin by gathering your tools: screwdrivers, pliers, and a hobby knife. Carefully examine the model for screws, clips, and glue points. Use the appropriate screwdriver to remove screws, and gently pry apart any clipped parts. Label or organize the parts as you disassemble them to keep track of each piece. Once disassembled, use warm, soapy water and a soft brush to clean the parts. Rinse thoroughly and let them air dry completely before proceeding. This preparation removes any dirt, dust, or factory residues, ensuring a clean surface for painting and assembly.
Disassembly Process

The disassembly process involves carefully taking apart the diecast model car to prepare it for customization or repair. Start by consulting the model’s instructions to identify all the attachment points, which may include screws, clips, and glue. Using the correct size screwdriver, gently unscrew any screws. If parts are glued together, use a hobby knife to carefully separate them, taking care not to damage the surrounding areas. Label and store the separated parts in an organized manner, as you will need to reassemble them later. This step requires patience and attention to detail to ensure that all parts are safely removed without damage, making the subsequent steps easier.
Cleaning the Parts
Cleaning the parts of your diecast model car is essential before painting. Start by filling a container with warm, soapy water. Gently wash each part using a soft brush to remove any dirt, grease, or manufacturing residue. Pay close attention to crevices and hard-to-reach areas. Once all the parts are thoroughly cleaned, rinse them under clean water to remove all traces of soap. Allow the parts to air dry completely, ensuring no moisture remains before the painting process. This thorough cleaning creates a clean surface, which will allow the paint to adhere better, resulting in a smooth and professional finish.
Painting Your Diecast Model Car
Painting your diecast model car is the most creative step, where you bring your model to life. Preparation is key, so ensure all parts are clean and dry. Choose your paints carefully: acrylics for ease of use or enamels for durability. For detailed work, consider using an airbrush for smooth, even coats, or fine-tipped brushes. Apply thin coats of primer, followed by the base color. Let each layer dry completely before applying the next to prevent runs or drips. Add any details, such as stripes or logos, with precision. With patience and attention to detail, you can achieve a professional-looking paint job that enhances the model’s appearance.
Primer Application

Applying primer to your diecast model car is an essential step in preparing the surface for painting. Primer helps the paint adhere to the metal surface and provides a uniform base. Choose a primer that is compatible with your chosen paint type (acrylic or enamel). Spray the primer in thin, even coats, holding the can about 6-8 inches away from the parts. Avoid applying too much primer at once, as this can lead to drips. Allow each coat to dry completely according to the manufacturer’s instructions. After the primer has dried, lightly sand the surface with fine-grit sandpaper to remove any imperfections. Properly applied primer ensures a smooth, durable finish for your model car.
Applying Base Coats
After priming, apply the base coat of paint. Start by choosing your desired color, ensuring it’s compatible with the primer. If using an airbrush, thin the paint according to the manufacturer’s instructions. Apply thin, even coats, allowing each layer to dry completely before applying the next. This prevents runs and ensures a smooth finish. Multiple thin coats are always better than one thick coat. Use masking tape to protect areas that should remain unpainted. Patience is key; take your time and let each coat dry completely to achieve a professional-looking paint job.
Adding Details and Decals
Adding details and decals is the final step in painting. Details enhance the realism of your model car. Use fine-tipped brushes and detail paints to add features like window trim, door handles, and emblems. Decals can add realistic logos, stripes, and other design elements. Carefully cut out each decal, dip it in water, and slide it onto the model. Use a soft cloth or cotton swab to remove excess water and air bubbles. Consider applying a clear coat over the decals to protect them and create a uniform finish. By paying attention to detail, you can create a highly detailed and impressive model car.
Reassembly and Finishing Touches

Reassembly and finishing touches complete the transformation of your diecast model car, bringing all the individual parts together. Carefully reassemble the model, aligning the painted pieces, and securing them using screws, clips, or glue. Inspect each part as you reassemble it to ensure that it fits correctly and that the paint job is not damaged. After reassembly, consider adding final details, such as chrome trim, mirrors, and wipers. Use a clear coat sealant to protect the paint and decals and give the model a polished look. With careful reassembly and attention to detail, you will have a completed diecast model car ready for display.
Reassembly Process
The reassembly process involves carefully putting all the parts of your diecast model car back together. Refer to the model’s instructions, if available, to ensure correct placement and alignment. Start by attaching the larger components. Use the appropriate screws, clips, or glue to secure the parts together. As you reassemble, be careful not to scratch or damage the paint. If any parts are difficult to align, double-check the instructions and ensure that all the pieces are correctly positioned. A bit of patience and attention to detail during reassembly guarantees that your model car comes together neatly and accurately, showcasing your work.
Adding Final Details
Adding final details to your diecast model car will make it stand out. These small details add a touch of realism. Use fine-tipped paintbrushes to add chrome trim, door handles, and emblems. Decals can be carefully applied to add logos and stripes. You may also add small details like license plates or even miniature license plate frames. Carefully apply clear coat sealant to protect the paint and decals. By taking the time to add these finishing touches, you will transform your model into an amazing replica that any collector will love.
Common Mistakes and How to Avoid Them
Avoiding common mistakes is essential for successful diecast model car building. A common mistake is rushing the painting process; always apply thin, even coats and let each layer dry completely. Another common issue is using incorrect tools; make sure you have the right screwdrivers, pliers, and brushes for the job. Not cleaning the parts thoroughly before painting can result in poor paint adhesion. Overlooking the preparation stage leads to unsatisfactory results. By avoiding these common pitfalls, and taking your time, you’ll build beautiful, professional-looking diecast model cars.
Where to Find Diecast Model Car Building Supplies
Finding diecast model car building supplies is easy. Start with your local hobby stores. These stores offer a wide range of models, paints, tools, and accessories. Online retailers like Amazon and dedicated hobby websites also have a vast selection and often competitive prices. Model car clubs and online forums are excellent resources for advice and recommendations. Consider attending model shows, where you can find unique parts and connect with fellow enthusiasts. By exploring these options, you will be able to find everything you need to build your own diecast model cars.